
Build-A-Bear Sweater and skirt Free Pattern
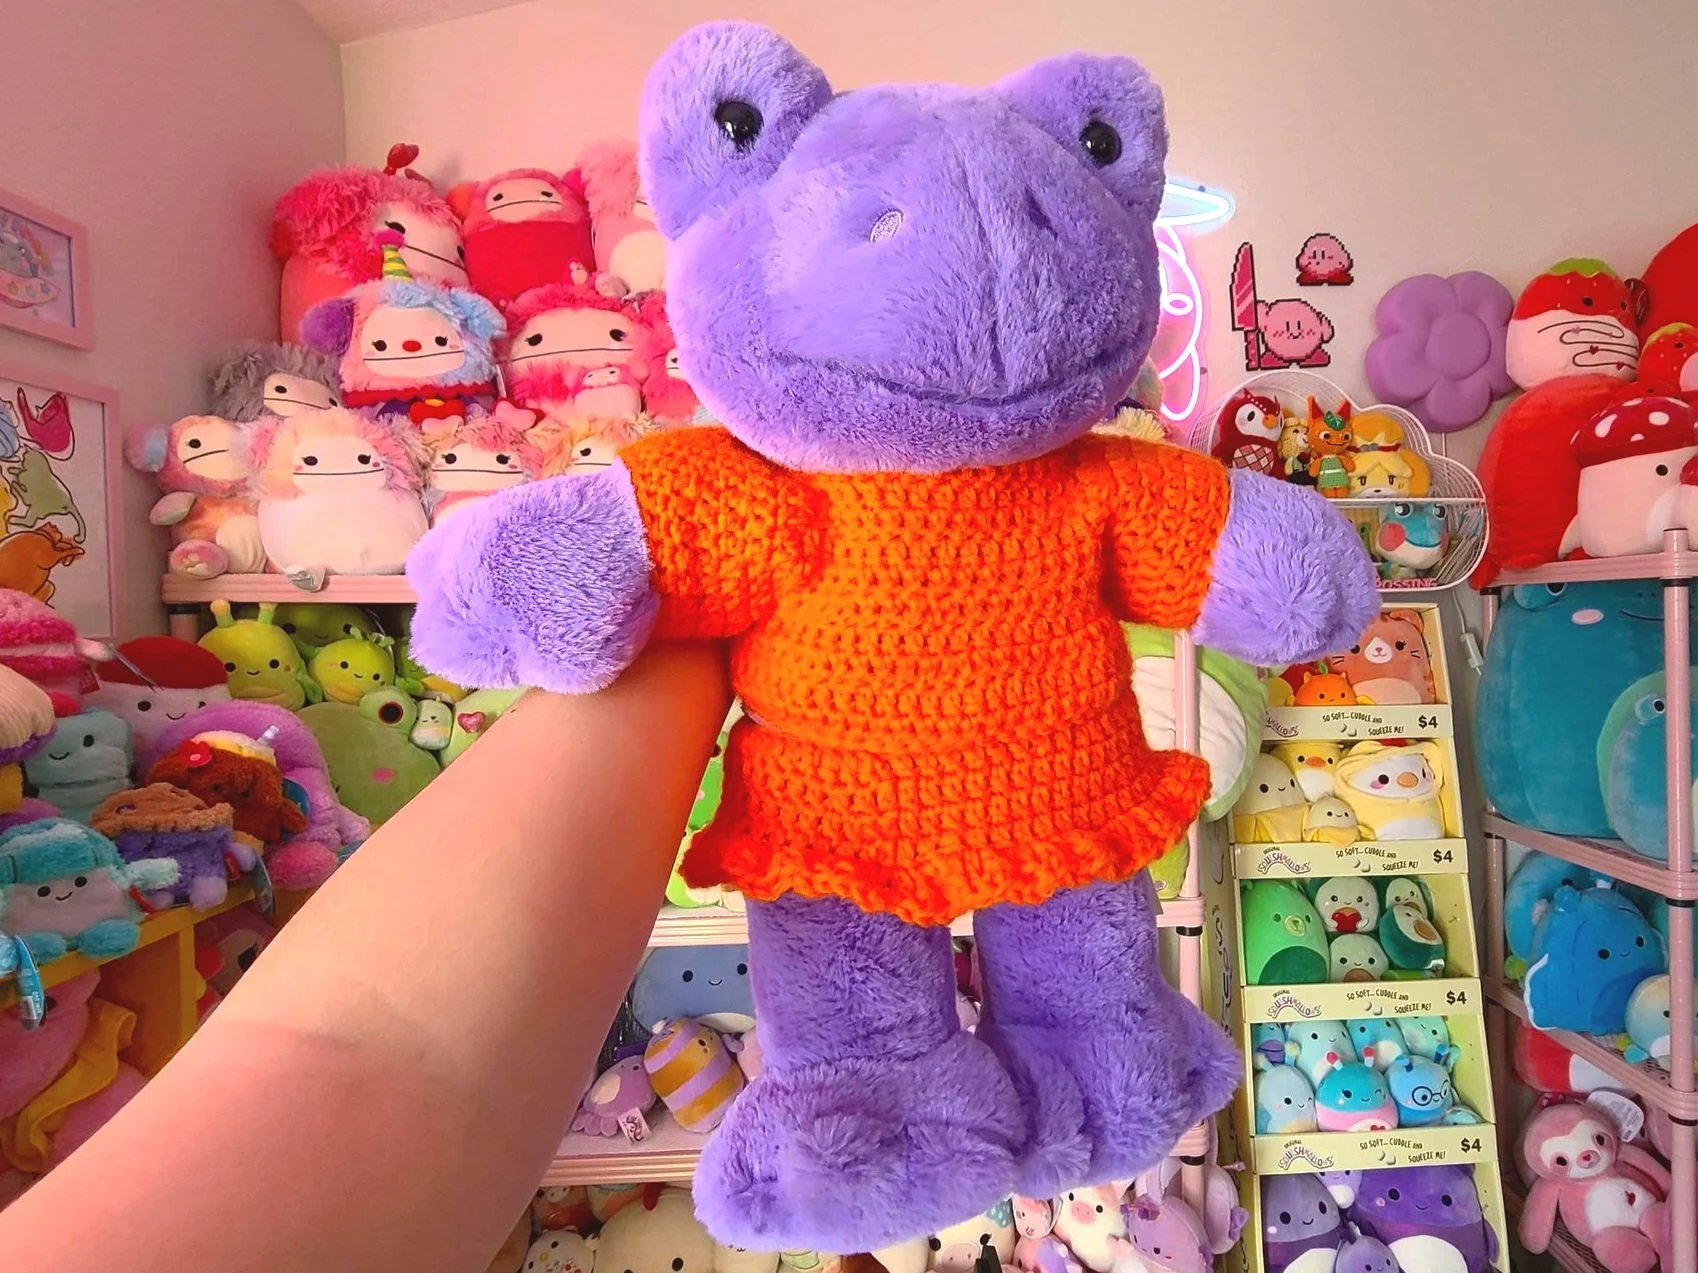
Make your own BAB clothes! Below is my rough-ish pattern for a sweater and skirt.
Supplies:
Size J or 6mm crochet hook
Worsted weight yarn in color of your choice (I used Big Twist from Joann’s)
Scissors
Yan needle for weaving ends
(optional) Buttons, velcro, or fasterners of some kind to close up the back
-
sc = single crochet
dc = double crochet
hdc = half double crochet
trc = triple crochet
st = stitch
sts = stitches
ch = chain
dec = decrease
-
Chains at the beginning of each round DO NOT count as a stitch. Do not count these towards stitch total.
Yarn thickness, hook size, and tension will make the size of your project vary. If you make one of these items and it’s too big or too small for your plush, I’d recommend using a bigger or smaller hook. This pattern was designed for worsted weight yarn.
Sweater:
Chain 42.
Row 1: Dc in third chain from hook and across the rest of the chain. Ch2 and turn work.(40).
Row 2: Dc across. Ch2 and turn work.(40)
Row 3a: Dc 7, ch2 and turn work.You will now work in separate small sections. (7)
Row 4a: Dc 7, ch2 and turn work. (7)
Row 5a: Dc 7, ch2 and turn work. (7)
Row 6a: Dc 7, ch2 and turn work. Pull yarn though and cut. (7)
Row 3b: Skip 5 sts from the previous section and attach yarn in the 6th st. Ch 2, dc in same stitch as ch 2. Dc across 15 more stitches. ch 2 and turn work (16)
Row 4b: Dc 16, ch2 and turn work (16)
Row 5b: Dc 16, ch2 and turn work (16)
Row 6b: Dc 16, ch2 and turn work (16)
Row 3c: Skip 5 sts from the previous section and attach yarn in the 6th st. Ch 2, dc in same stitch as ch 2. Dc in the remaining 6 sts. (7)
Row 4c: Dc 7, ch2 and turn work. (7)
Row 5c: Dc 7, ch2 and turn work. (7)
Row 6c: Dc 7, ch2 and turn work. (7)
Row 7: Dc 7, ch5, skip the big gap and continue working in the next dc sts. Dc 16, ch 5, skip the gap, dc in the remaining 7 sts. Ch2 and turn work (40)
Row 8: Dc 40. You will put dc’s into the chain sts as you get to them. ch2 and turn work (40)
Row 9: *dc 7, inc* ch2 and turn work (45)
Row 10: dc 45, ch2 and turn work (45) For a cropped sweater, hdc 45 instead and bind off here.
Row 11: dc 45, ch2 and turn work (45)
Cut yarn and bind off.
Optional: if you want the sweater to close more in the back or want to be able to add buttons/zipper, you can add a few more rows. Attach yarn on the unfinished edge of the back of the sweater. Dc 16 across the edge. ch2 , turn. I did 3 rows of dc but you can do however many you like until you reach the desired width. Add buttons/snaps/zippers for closures.
Bonus: For a ruffled collar, attach yarn at the edge of the collar area. Work 2 hdc in each stitch across, ch 1 and turn. Work 1 hdc, inc across.
Sleeves
Round 1: Attach yarn in first arm hole. Dc 32 around the armhole, making sure to put a stitch in each “corner” so there’s no gaps. Ch 2.(32)
Round 2: *dc 6, dec* around. Ch2 (28)
Round 3: dc around. Ch 2. (28)
Round 4: *dc 5, dec* around (24)
Round 5: dc around (24)
Round 6: hdc around (24)
Skirt:
Ch 50. Slip stitch into first chain to create a circle, be careful not to twist chain.
Round 1: Ch2, Dc in same stitch as join and in remaining stitches. Slip stitch to first dc and ch 2. (50)
Round 2: Dc around. Slip stitch to first dc and ch 2. (50)
Round 3: Dc around. Slip stitch to first dc and ch 2. (50)
Round 4: *dc 9, inc* Around. Slip stitch to first dc and ch 2. (55)
Round 5: Dc around. Slip stitch to first dc and ch 2. (55)
Round 6: 2 trc in each stitch. Slip stitch to first dc, bind off and cut yarn. (110)